


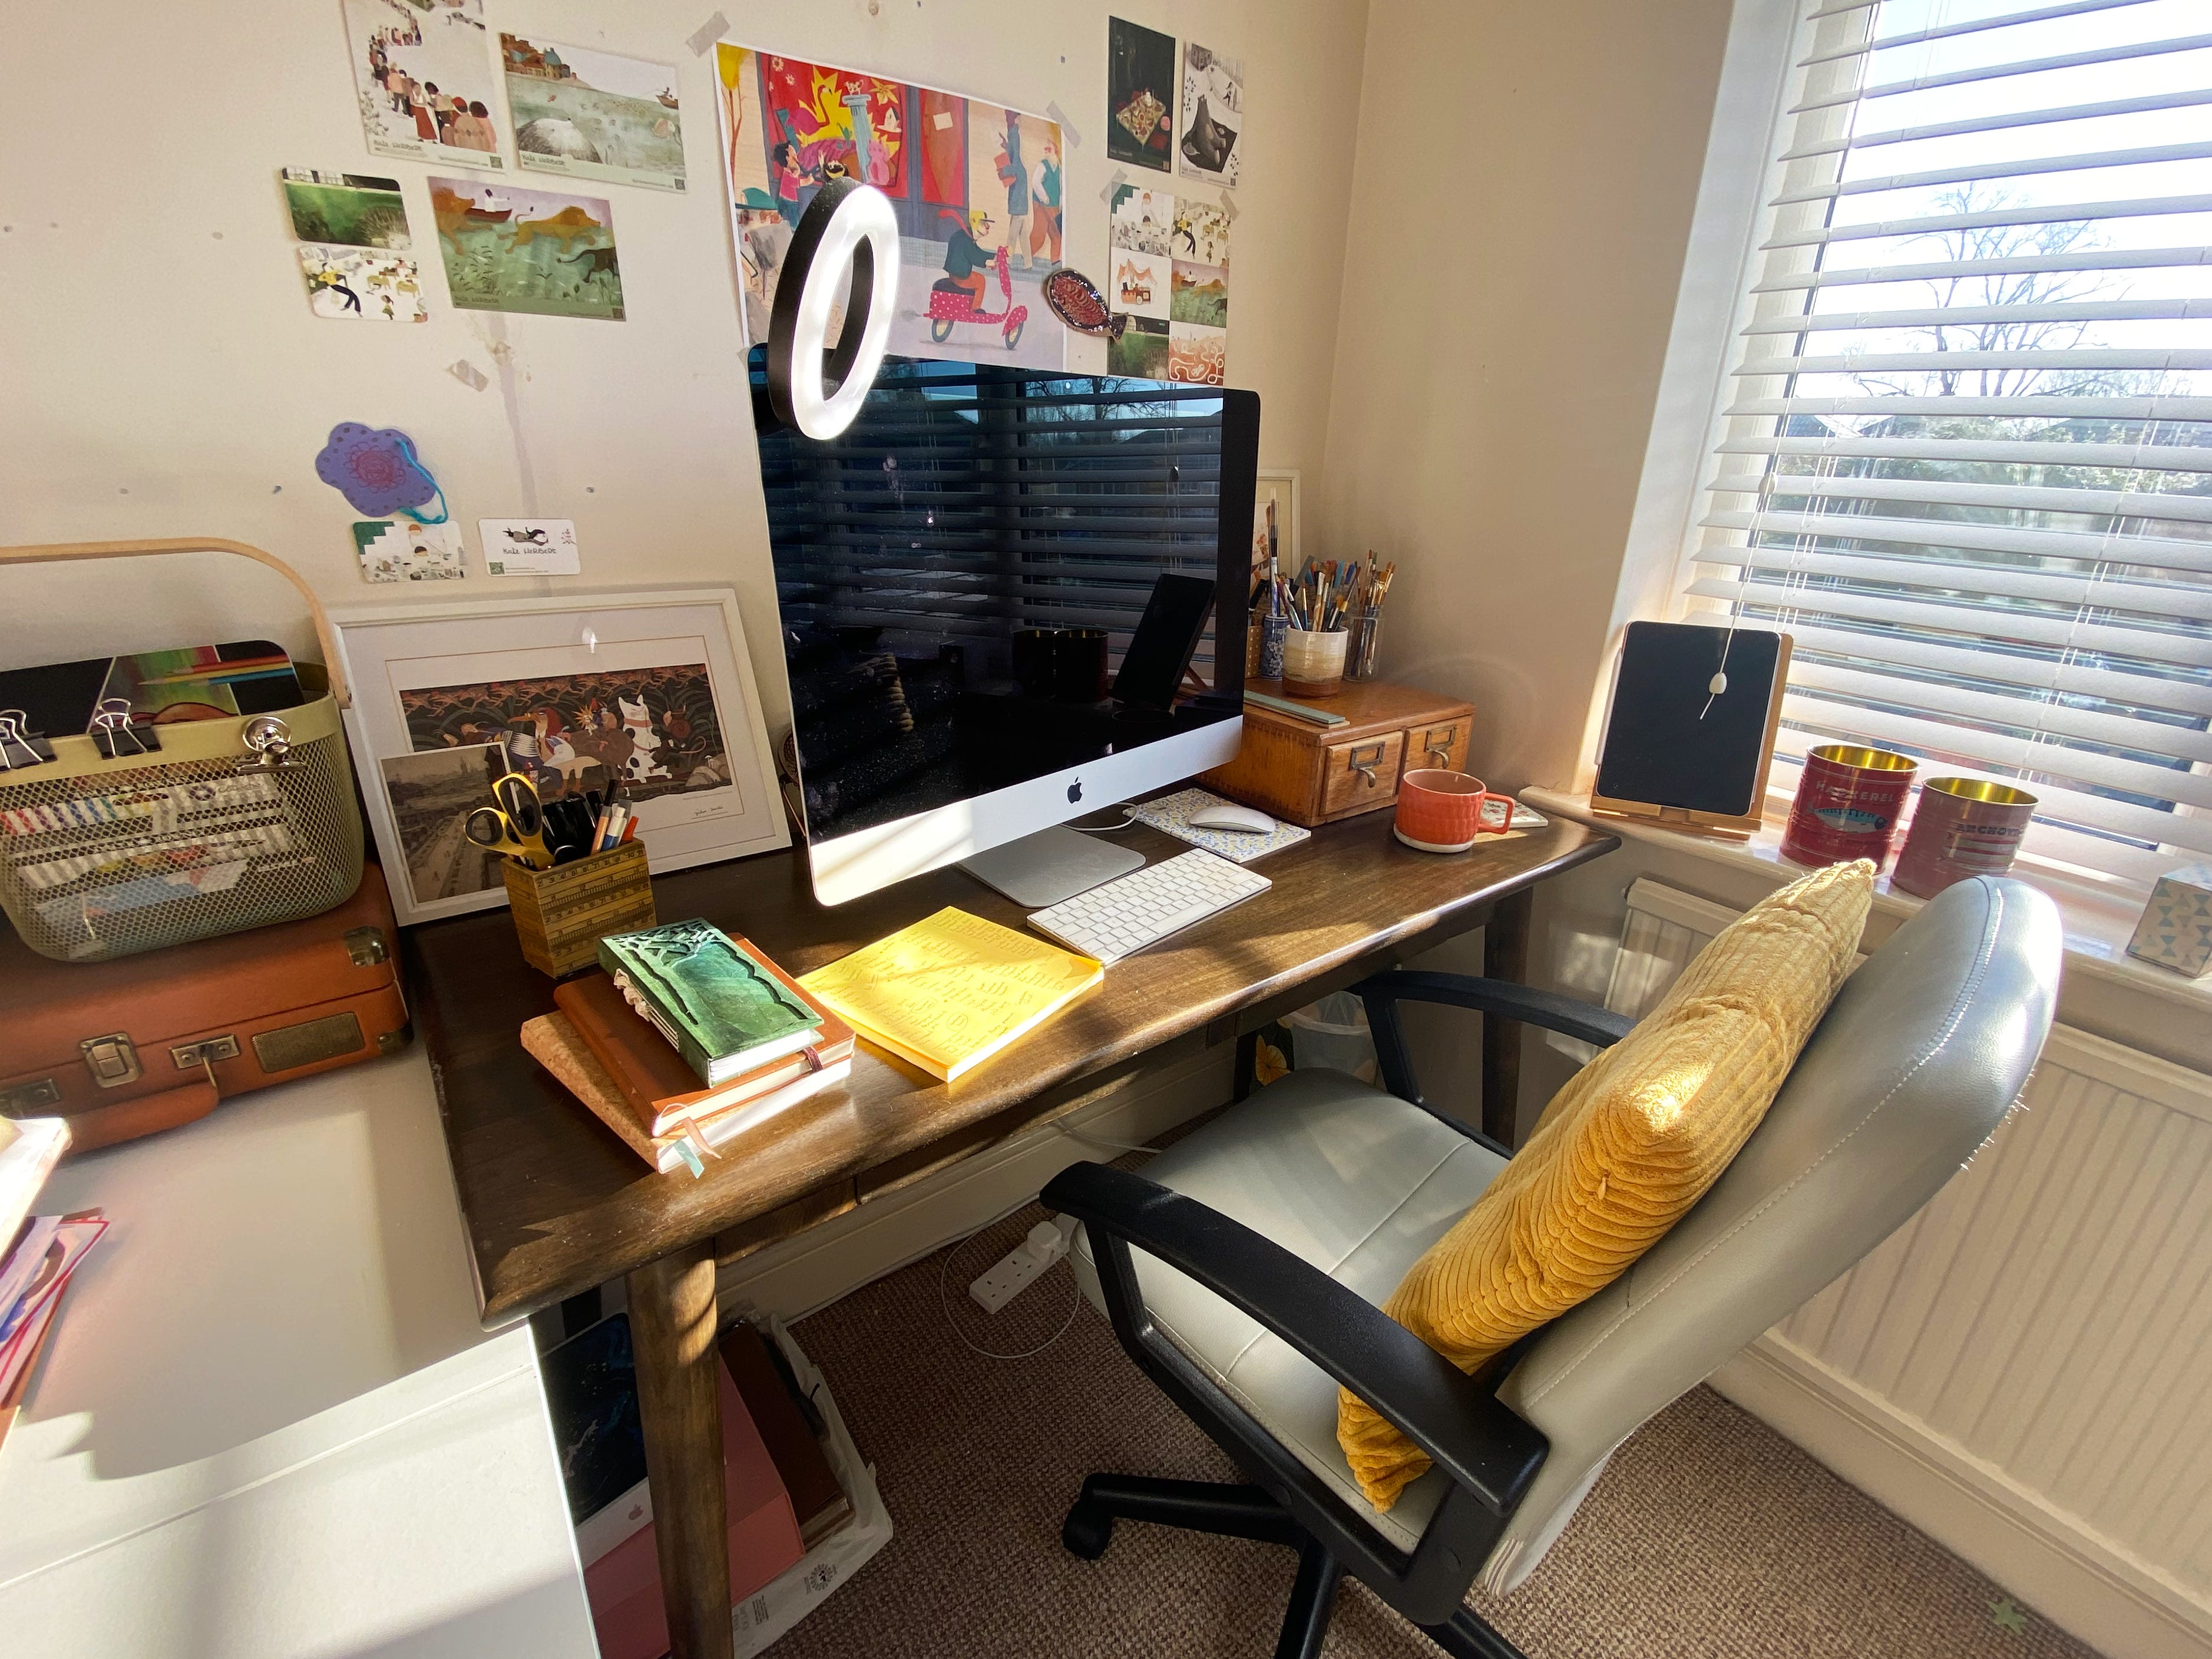
For a while now, I’ve been mulling over how best to share a bit of processy behind-the-scenes content on here. I’m an entirely digital artist, which does reduce the opportunity to take styled photographs of my studio space: you know, a half finished painting laid out beautifully on a desk, tubes of paint on every surface, a few carefully placed oil pastels here and there. Somehow, a photo of an iPad and computer doesn't have quite the same charm!
I sometimes find that, as a digital artist, there's an assumption that my process is very quick. In fact, I work quite slowly. Whether this is down to my indecisive nature (while I agonise over each decision and endlessly tinker with the edits), or due to the way I use the technology, I’m not sure. Perhaps a bit of both.
Sketching
My process doesn't always start with sketching. Sometimes colour is the trigger for an illustration…
If you’d like to read more about how colour influences my work, this interview with my illustration collective answers questions about just that! Available for free on the Cardboard Chronicles Substack.
…but I often start with a bit of research and then get straight into sketching. I use this stage to help me work out what I want to say in an illustration. I know a lot of artists say this, but I really am a messy sketcher! I would love to be the kind of artist who produces sketchbooks full of beautiful, line drawings, but I don’t work in sketchbooks at all, preferring to draw straight into my iPad so I can rub out and re-draw as I go. The downside is that I don’t have heaps of early sketches to look back on, which I know is sometimes where a gem of an idea is lurking, and it also doesn't provide me with aesthetically pleasing originals to share on my socials. But it does allow me to work quickly and to hone my ideas in quite a time-efficient way, which I find hugely valuable.
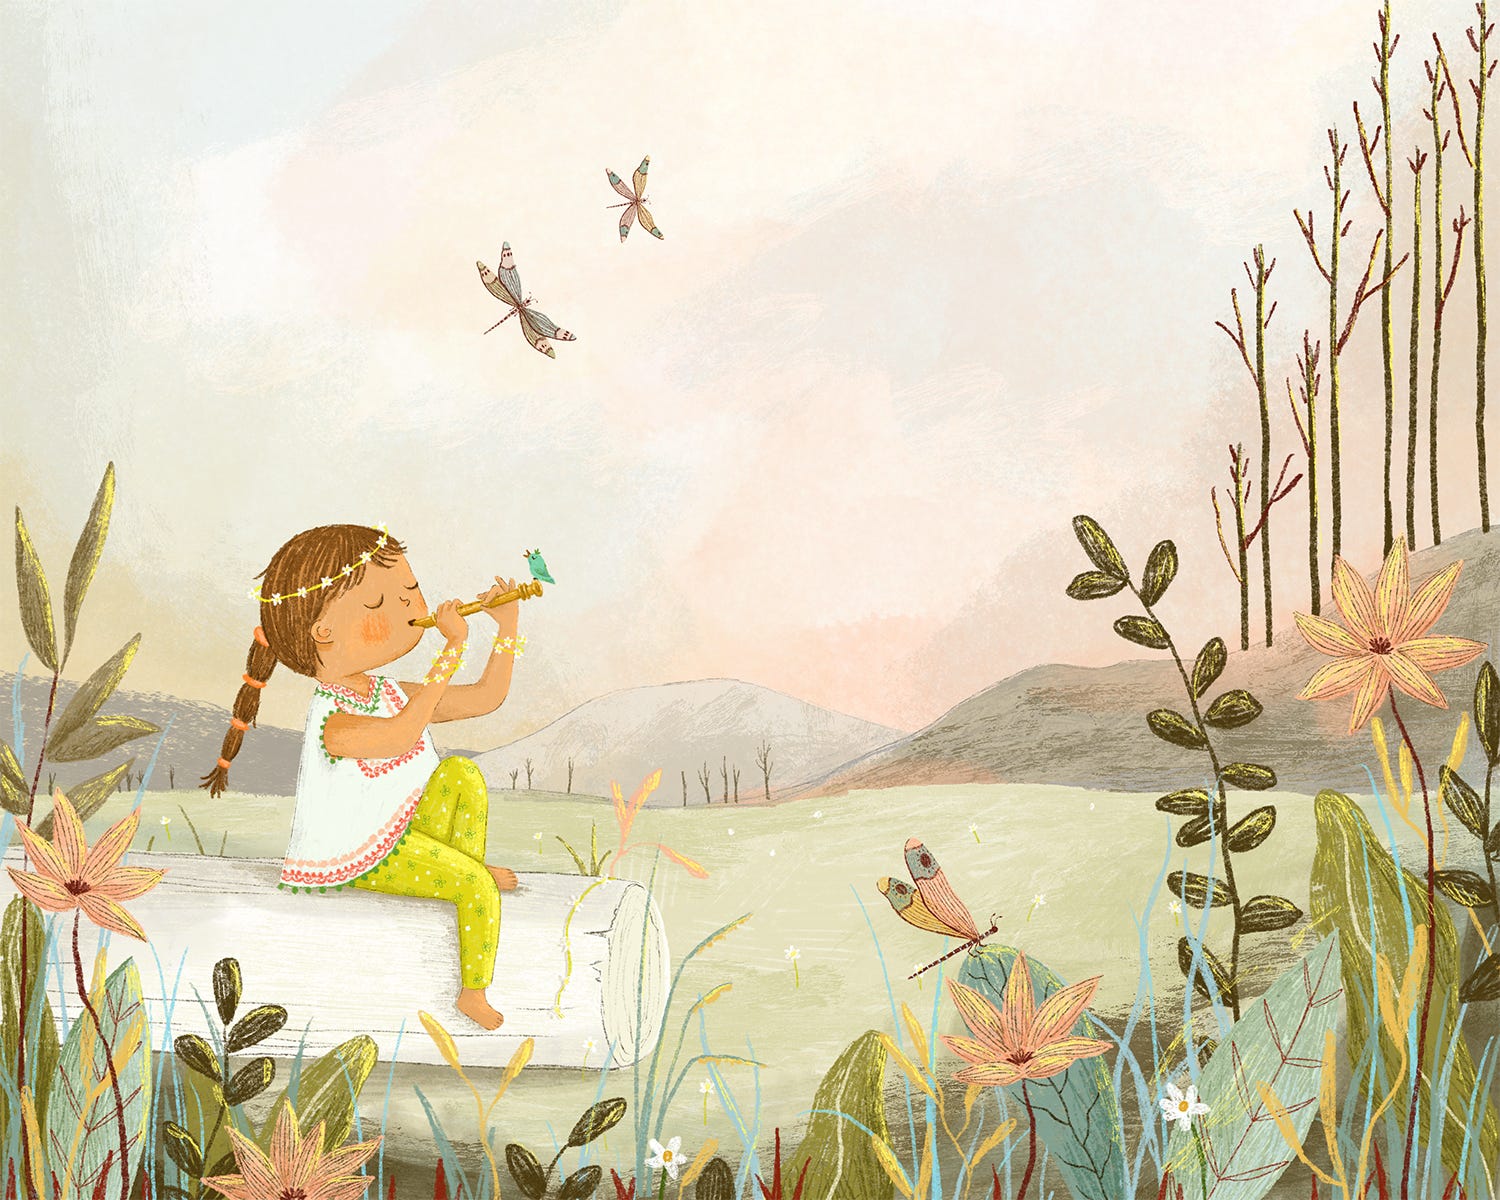
I like to start with the character/s of an image before placing them in a setting. I go straight into sketching them in a pose I know will be useful for the final piece. In the past, I would design my characters standing still, looking straight out at the viewer, but I found they were always so wooden looking and totally uninspiring. So now, I think about the pose for the image I’m working on and design them in situ, often using my own photos or Google images for pose reference.
Here is a little time lapse of me sketching out some character ideas for this piece.
If you’re eagle-eyed (and even if you’re not!), you’ll notice that these sketches are of a grandma and grandson, which was the original plan for this piece. But it wasn't feeling quite right so I had a last minute change of heart. I try not to get down about it when that happens and to trust in the process, knowing it will end up where it’s supposed to if I trust my instincts. You can see that the sketches are very rough and kind of ugly at this stage. I almost never bother drawing hands or other little details in the sketch phase- these can be added later on.
Setting
Once I have an idea of my characters and their poses, I place them in a setting. This is where I start to hone the composition of the piece and, just like the character drawings, it involves a lot of trial and error. Sometimes, I’ll analyse favourite artists and ask myself what I like about their compositions or I’ll wade through my own photograph library that I’ve built up over the years. Landscape photography is great for this- I use Pinterest to save all my reference images in one place.
If you see an image you want to save but it isn’t on Pinterest, you can upload it yourself, even if it’s just a screenshot. You can add details of the image source in the description for your own reference and pin the image to a private board, for your eyes only.
You’ll see from these very rough initial sketches that I’m re-drawing my characters again in each composition, but with even less detail than in the earlier character sketches. This doesn't mean that the previous stage is wasted. In fact, this next part wouldn’t be possible for me if I hadn't already explored possible poses in the character stage. Once I get to the rendering, I will often refer back to those original character sketches again, with their higher level of detail, sometimes copying and pasting them into my final sketch before refining and adding colour.
I rarely produce a neat final rough before moving to colour. It feels wasted for me since I know I’ll continue to edit and tweak as I apply the rendering style over the top. For client work, I’ll admit to re-drawing over the top of my really rough roughs- I’m still not overly comfortable sharing sketches at this level with clients. Something I need to work on, I think!
In part two, I’ll be discussing colour and how I achieve textures using Procreate. Keep your eyes on my Substack, where I’ll be posting in the next few days!
Thanks for reading,
Kate x
Oh I loved watching this and having a sneaky little looksie into your process Kate! And honestly I'd have been super chuffed to have created any of your sketches- they're all beautiful!!!! You do way more roughs than me and I normally approach character and setting at the same time but I'm definitely going to give your process a go now. More behind the scenes of your beautiful work please! XX
So interesting see your process at the sketch phase Kate, we'll done for being brave and showing your sketches! Even though you don't have stacks of paper to share, these process videos have a charm of their own, I love them. The moment the boys head is tilted onto his grandma is really sweet too 🥰